Find out here the most complete dr.fone guides to easily fix the problems on your mobile. Various iOS and Android solutions are both available on the Windows and Mac platforms. Download and try it now.
 Recover (iOS)
  Backup & Restore (iOS)
  Restore Social App (iOS)
  Erase (iOS)
 What? iPhone storage almost full? Again?
The "Storage Almost Full" message just pops up constantly on your iPhone or another iOS device. Deleting files may be a bad idea. What to do? Now just use the Space Saver feature of dr.fone - Erase (iOS) to save space without deleting any files.
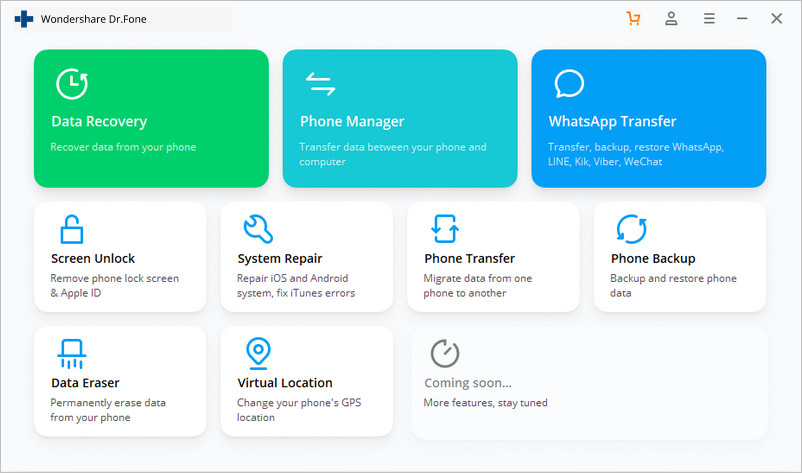
After installing and starting up the dr.fone toolkit, select the "Erase" option to begin the space-saving journey.
Here are the easy steps to free up space on your iOS deivce:
Step 1. Connect your iPhone to PC.
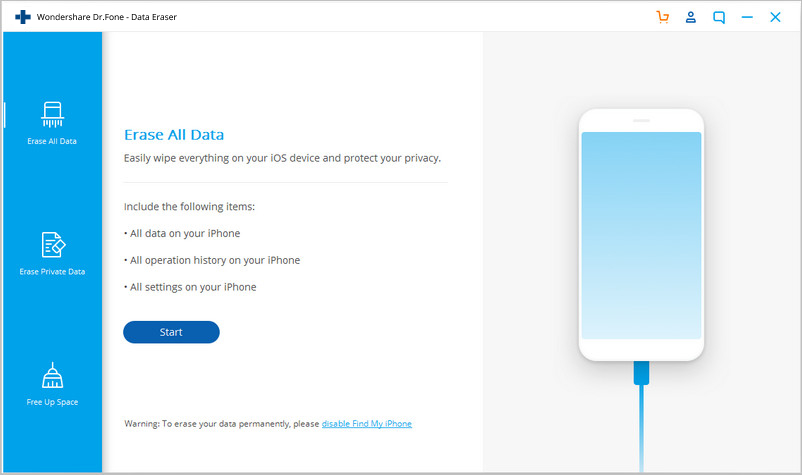
Connect your iPhone or iPad to PC with the Apple lightning cable. After the dr.fone - Erase (iOS) tool recognizes your device, it displays four Erase options. Click on "Space Saver" to proceed.
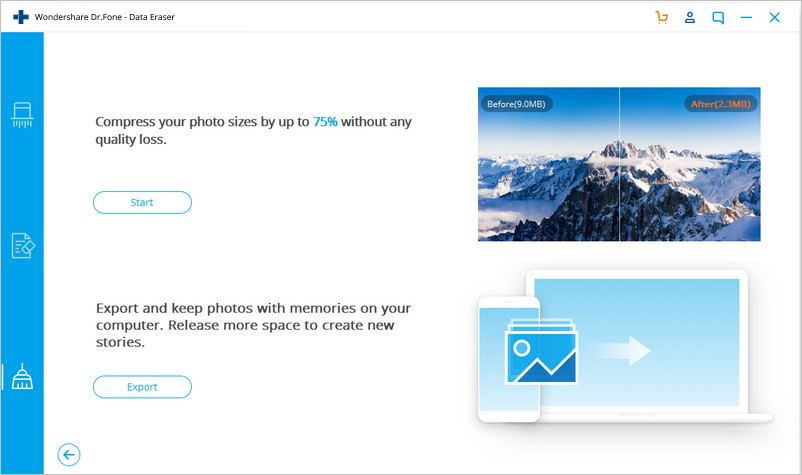
Step 2. Compress iOS photos loselessly.
In the screen that pops up, click "Start" on the upper part to begin photo compression.
Note: The compression remarkably compresses the photo size with little impact on the photo quality.
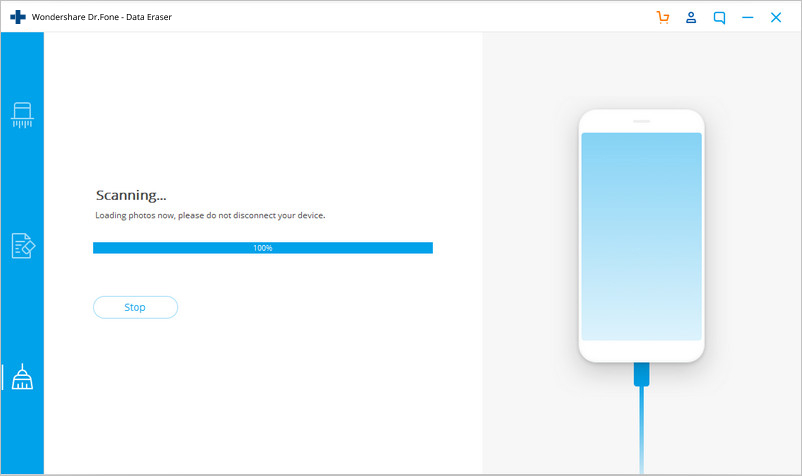
dr.fone - Erase (iOS) will spend a while in scanning all the photos in your iPhone or iPad.
When the photos are detected and displayed, select a date, select the photos to be compressed, and click "Start".
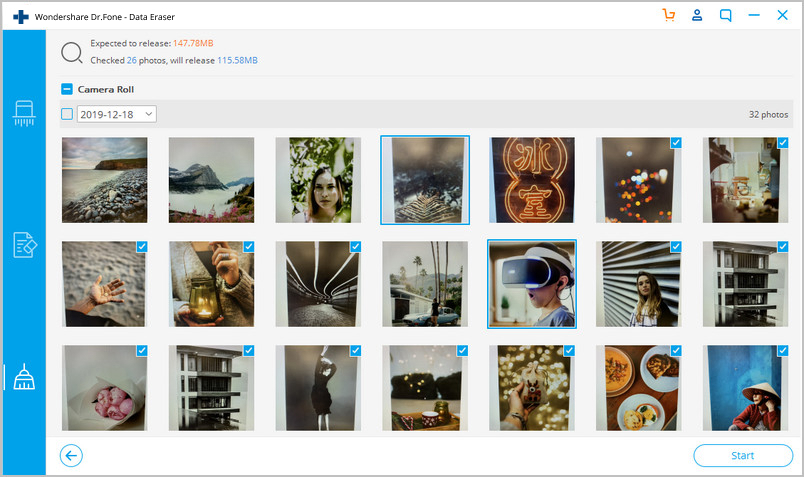
After the compression is complete, you can see the number of compressed photos and how much space is freed up.
Note: You do not need proceed to the next step if enough space has been freed up on your iOS device.

Step 3. Export the photos to PC (if not enough space is freed up).
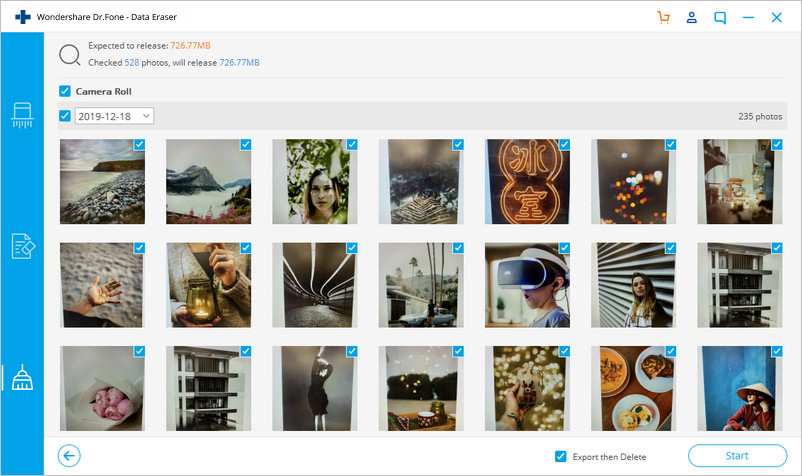
In the initial screen of Space Saver, click "Start" on the lower part to begin exporting photos.
After the scanning, photos of different dates are displayed on the screen. Then select a date, select some or all of the photos, and click "Start".
Note: The "Export then Delete" option should be checked. Otherwise, dr.fone - Erase (iOS) will retain the photos on your iOS without freeing up any space.
Select a directory on your PC and click "Export".
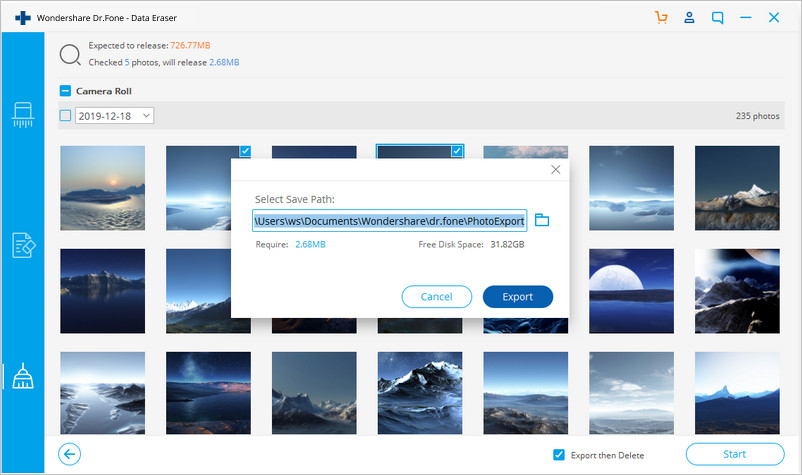
After a while, the following screen will appear, indicating that the export is successful.